If you don’t have access directly to a website where you need to install DNI (dynamic number insertion), you can do so through Google Tag Manager without ever needing to touch the source code on the website. The following setup will work for Source-based or Session-based DNI.
If you are using URL-based DNI you can use Tag Manger to install the Javascript snippet, but you will still need to add the HTML class of lmc_track directly to the website.
Convirza setup
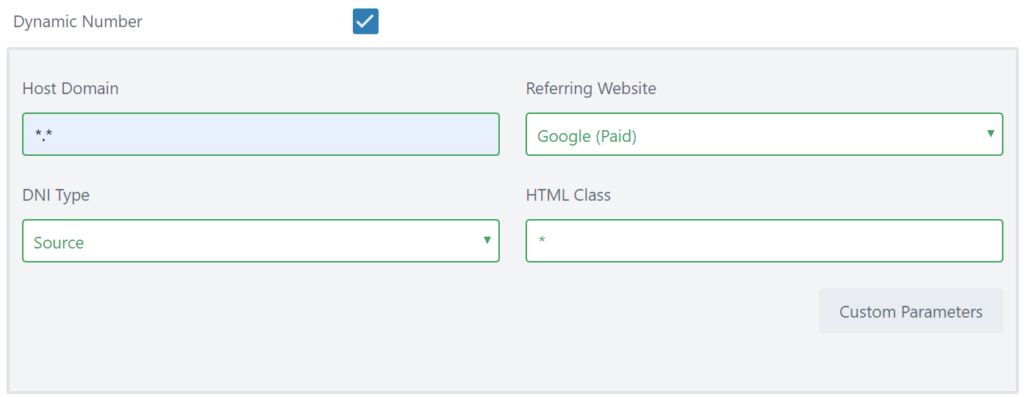
In Convirza, when adding a new DNI number, use the * character as the HTML class rather than adding your own custom HTML class. The * character will automatically find all phone numbers on a web page and replace them with the DNI number.
Copying the Code
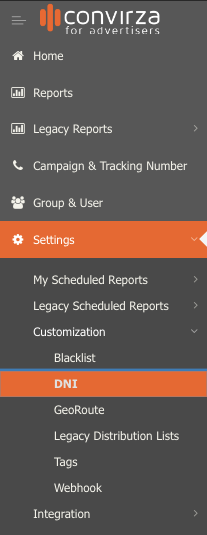
- Go to Settings -> Customization -> DNI
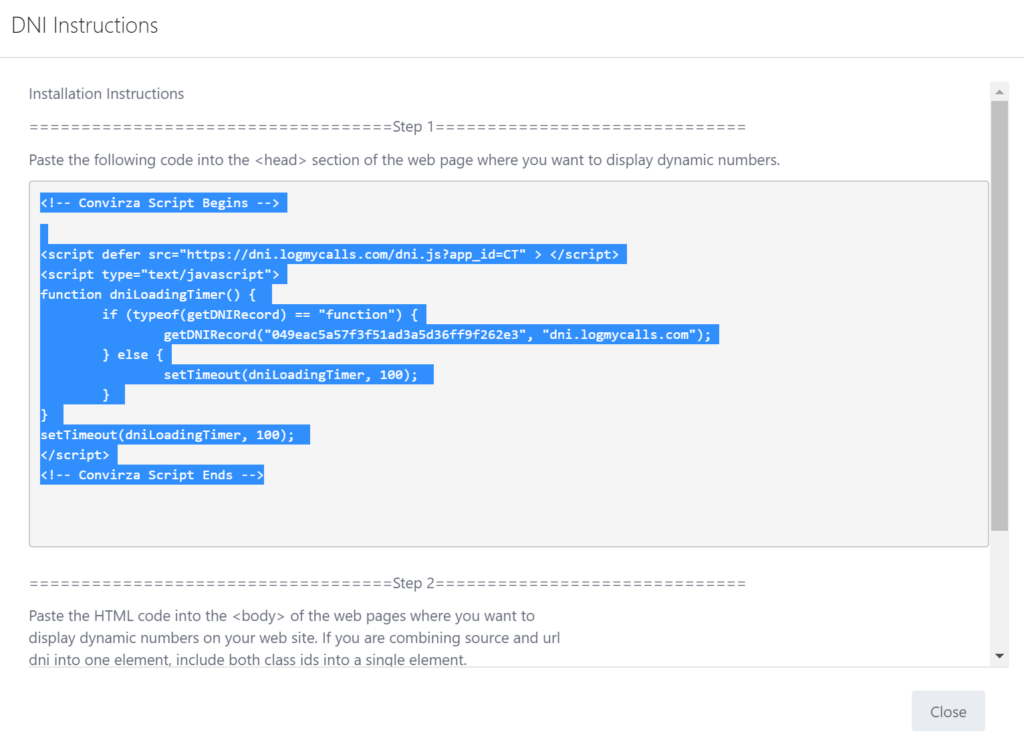
- Click the Copy Code button
- Copy the entire code from step 1. For this setup, you will not need to complete steps 2 or 3 unless you are using URL-based DNI.
Adding the Code to Tag Manager
- Login to your Google Tag Manager account
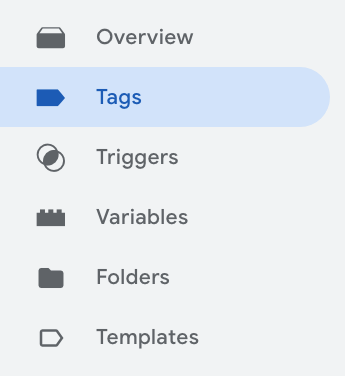
- Go to Tags on the left-hand menu
- Click New
- Click on Tag Configuration
- From the right-side menu click on Custom HTML
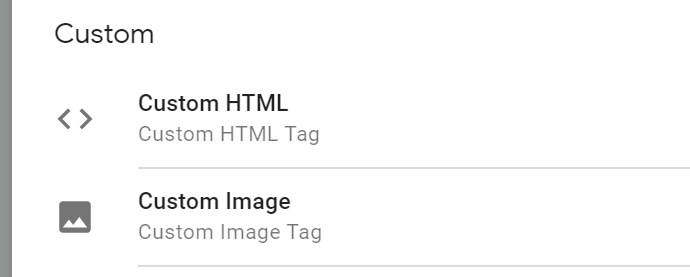
- Paste your Convirza Code into the the text box

- Click on Triggering
- Click the Plus button in the upper right hand corner to add a new trigger
- Click on Trigger Configuration
- Select Page View

- Select whether you want the script to fire on all pages of your site or only some pages (if you want DNI to work across your entire site select All Page Views).

- Click Save and give your trigger a name
- Give your Tag a name and click Save
- Finally, submit and publish your changes


Your DNI numbers should begin swapping out on your site as soon as your tag is published.
