To navigate between groups and subgroups, follow the steps below:
- First, click on the downward arrow to the right of your top-level group name.

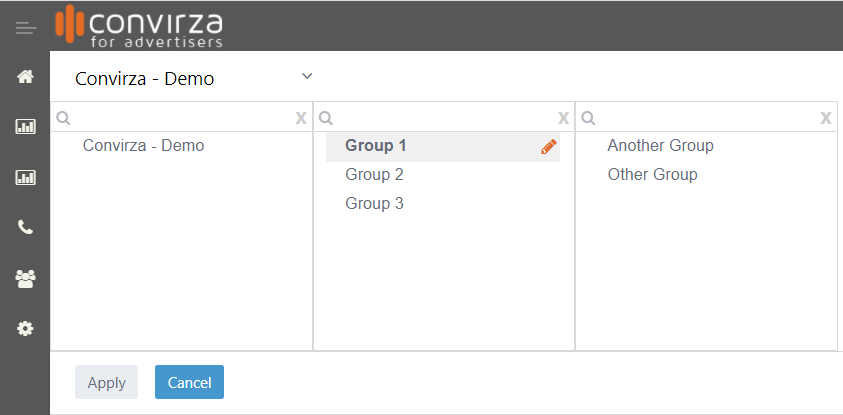
- You will then see a dropdown with the top-level group listed again and a pencil icon to the right of it. Click on it and the second-level subgroups will appear.
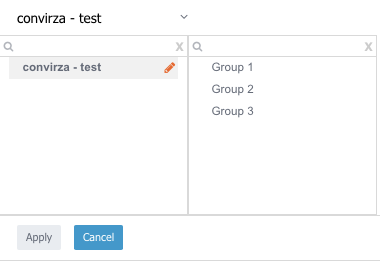
- Next, either select the second-level subgroup you want to use by clicking on it and then clicking ‘Apply’ below or alternatively click on the third-level subgroup you want to use and click ‘Apply’.
- Once you have selected the desired subgroup, changes to the account, such as adding a new tracking number, adding a Google Analytics UA ID or setting up webhooks will apply to that subgroup.
- You can always see which subgroup you are currently using by viewing the ‘breadcrumb’ at the top of the screen. In the screenshot below the ‘3rd Level Sub-group’ is being used.

- If the breadcrumb does not appear on a screen (such as in reporting, which is based on user access rather than group navigation) that means you’re viewing the entire account (all groups).