To create a call logs report that is automatically sent out on a schedule, follow the instructions below:
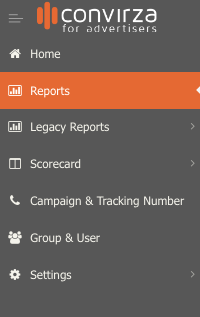
- Click ‘Reports’ on the left-hand menu.
- By default, the Call Logs report is selected in the drop-down selector.
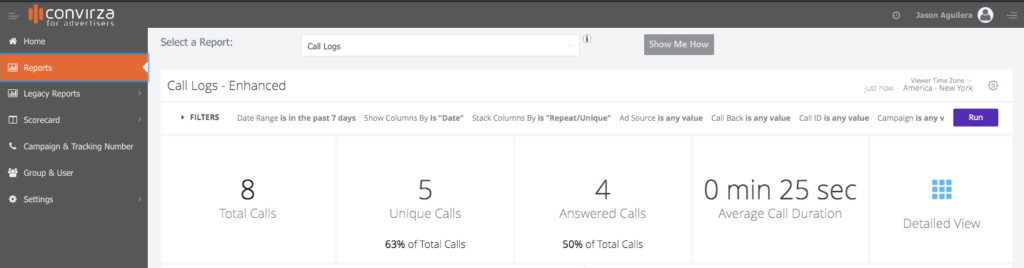
- If you want to schedule another type of report, click the downward arrow and choose the desired report.

- You may also select the ‘i’ icon for a Summary of available reports.

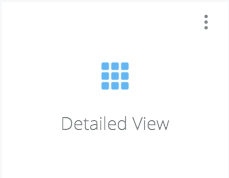
- If you wish to schedule a detailed version of the call logs report, click on the square titled ‘Detailed View’.
- Detailed view will contain additional caller activity information.
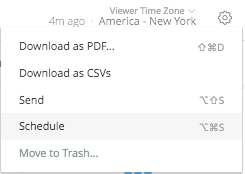
- Click the gear in the upper right-hand corner.
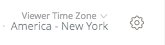
- Select ‘Schedule’ after clicking on the gear symbol.
- The scheduler will pop up.
- Give the scheduled report a name.
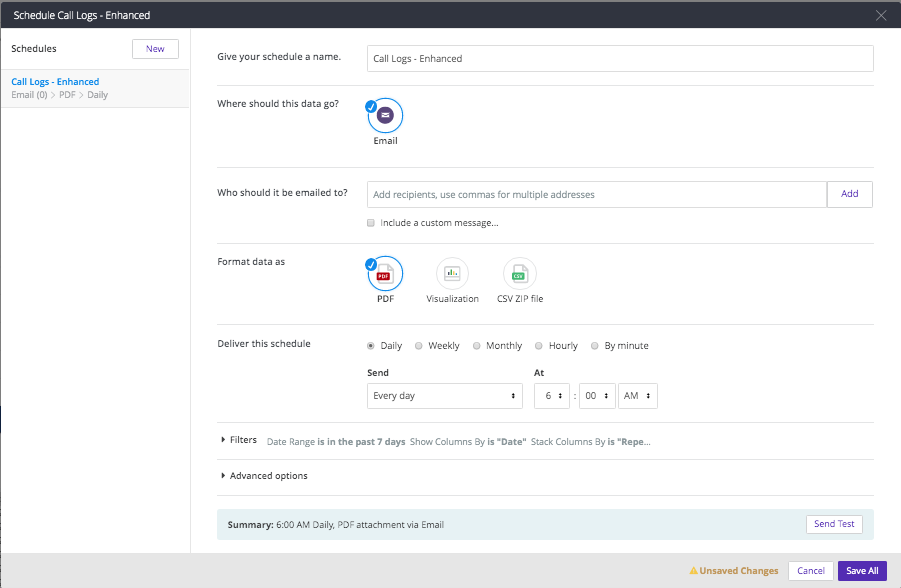
- Enter each email address that you want the report to be sent to.
- Use a comma to separate multiple email addresses and then press ‘Add’.

- You may add a custom message by clicking the ‘include a custom message’ box and typing a message. This message will be seen by the recipient each time the report is sent.

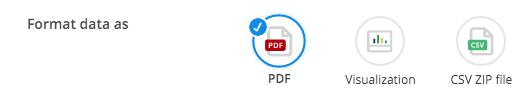
- Choose the format type you’d like the report to be sent in.
- Select the frequency in which the report will be sent.
- Add the time that the report will be sent.

- Select filters if you’d like the report for a specific campaign, tracking number, group, etc… to be sent. By default, the report will send data for all groups if filters are not used.

- Advanced options are available if needed.
- You can send a test report by selecting the ‘Send Test’ button. Please note, by selecting ‘Send Test’ a test report will be sent to the email addresses you previously entered.

- If you’d like to create additional scheduled reports select ‘New’ next to Schedules and repeat the process mentioned above.
- After you’re done entering scheduled report information select ‘Save All’.