To follow a schedule, follow the steps below:
- Add a tracking number to the desired campaign. Please refer to the Add Tracking Number New UI text/video for steps on adding a new number.
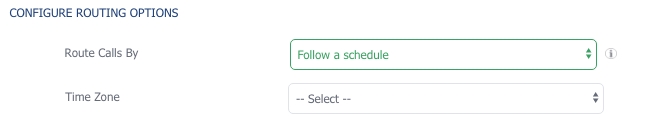
- Go to the ‘Route Calls by’ drop-down under the ‘Configure Routing Options’
- Select ‘Follow a Schedule’ in the routing options.
- Choose the time zone from the dropdown that reflects the scheduled time inbound calls will change their route.
- Select, from the dropdown ‘Schedule Day(s) of the week’, for the day(s) that you’d like the scheduled route to start.
- Choose the time of day that the schedule will be active.
- Enter the ring-to phone number for the scheduled route.
- Select ‘Add Overflow Number’ if you’d like to add additional numbers to ring.
- You can also add another scheduler route by selecting ‘Add a Schedule’. Enter the Default Ring to Number that calls will be sent to when scheduled routing is not active. Check the Activate Voicemail box if needed.

- Next, add the required fields that include ‘Tracking Number Name’ and ‘Ad Source’
- Proceed with filling out the Advanced Tracking Number settings that fit best to your setup. Scroll down and select ‘Save’
- If your tracking number saved successfully you will see it listed under your campaign
- Test outbound tracking number and check the call logs report verifying that the test call shows up.