To apply filters in Reports, follow the steps below:
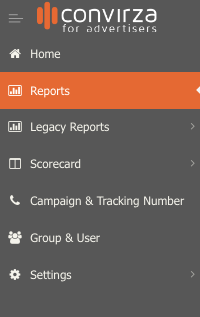
- Select ‘Reports’ on the left side of the menu

- Choose the report that you want to view data for. By default, the ‘Call Logs’ report will be selected.

- Once you have chosen the desired report, select ‘Filters’ to expand all. Please note, filters may be different based on the selected report.

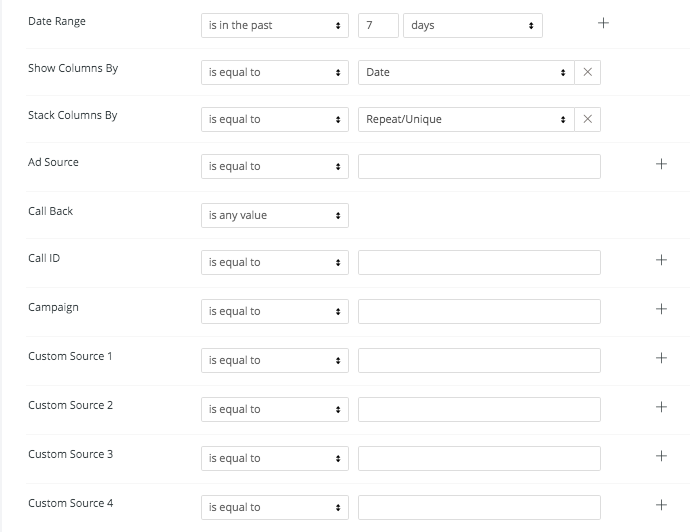
- A list of all available filters for that report type will show.

- The first filter to choose from will have the date range. Use the drop-down(s) to find the specific date range you’d like data for. The (+) symbol will add additional date range filters, the (X) symbol will delete them.

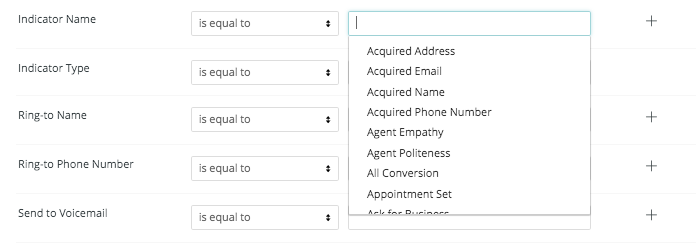
- View available filters and fill out the information for those you’d like to use. If you put your cursor in an empty search and select, a list of available names or numbers will appear. In the image below, I selected the ‘Indicator Name’ search and a list of all available indicator names showed.

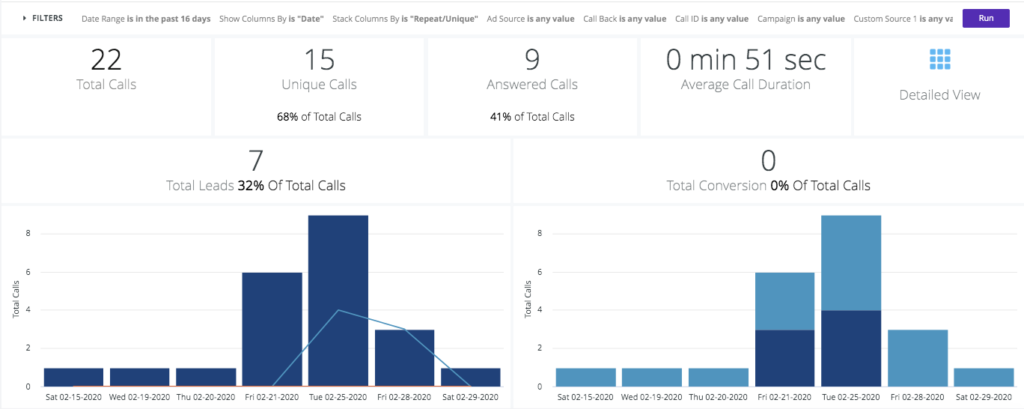
- After you have entered information for desired filters, select ‘Run’ in the upper right-hand corner.

- Select ‘Filters’ again and you’ll see all the filter options collapse.

- Results, based on your applied filters will show below.

- If you want to add or remove filters, simply press ‘Filters’, enter the filter information and then select ‘Run’. Each time you press ‘Run’, data is being gathered from the database and then shown in your report view.
