Whisper messages are often used to quickly inform agents at the beginning of each call which marketing campaign the caller is being referred from.
To add a whisper message, follow the steps detailed below:
- Add a tracking number to the desired campaign. Please refer to the Add Tracking Number New UI text/video for steps on adding a new number.
- After filling out the tracking number information you’ll see the following section ‘Advanced Tracking Number Setting’ as shown below.
- Scroll down and select the ‘Play whisper message before connecting’ checkbox.
- Check the ‘Play whisper message before connecting’ checkbox.

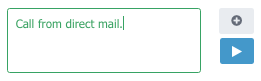
- Type in a custom message in the text field.
- Press ‘Play’ to listen to what the message will sound like.
- You can also add a custom audio file (using .Wav format) by clicking the ‘(+)’ button.

- The following message prompt will pop up.

- Select ‘Add Audio File’.

- Search for the audio file on your computer and select. Then select the green ‘Upload(filename).wav’ button. This will upload the file to your account.

- After the file uploads, select (checkmark) the audio file you would like to use. You can also listen to the file by pressing ‘Play’.

- Now that the file has been uploaded to the account press ‘Use Selected’.

- Continue to add/edit advanced tracking number settings if needed.
- Scroll down and ‘Save’.
You can also add a whisper message from the top level of the account which will apply to all tracking numbers that are later added to the account. To add a whisper file from the top level of the account follow the steps below:
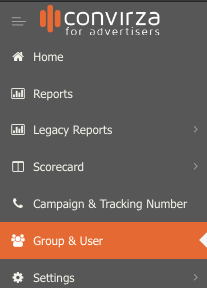
- Select ”Group & User’ on the left side of the menu.
- Scroll down until you find the tracking number settings section for your account and select the ‘+’ symbol.

- The Tracking Number Settings form will appear.
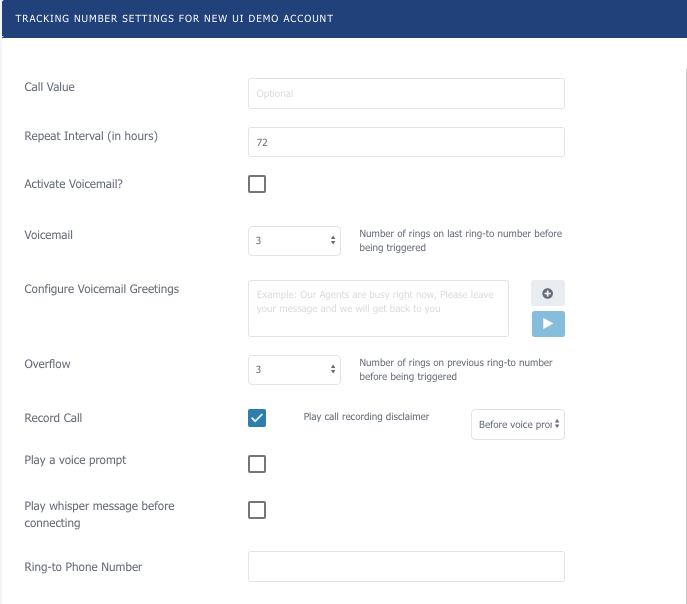
- Select the ‘Play whisper message before connecting’ checkbox.
- Add the whisper message as shown in the instructions above.

- Select ‘Save’ after the file/text is added.

- Now every tracking number added at any level of the account will inherit the whisper message that was added.